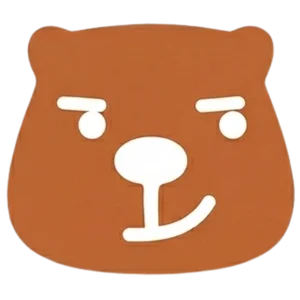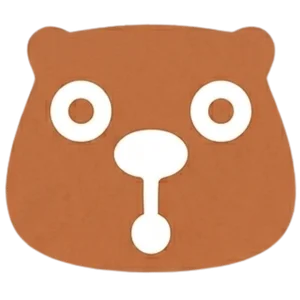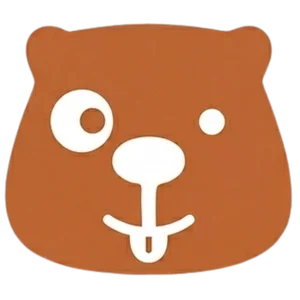
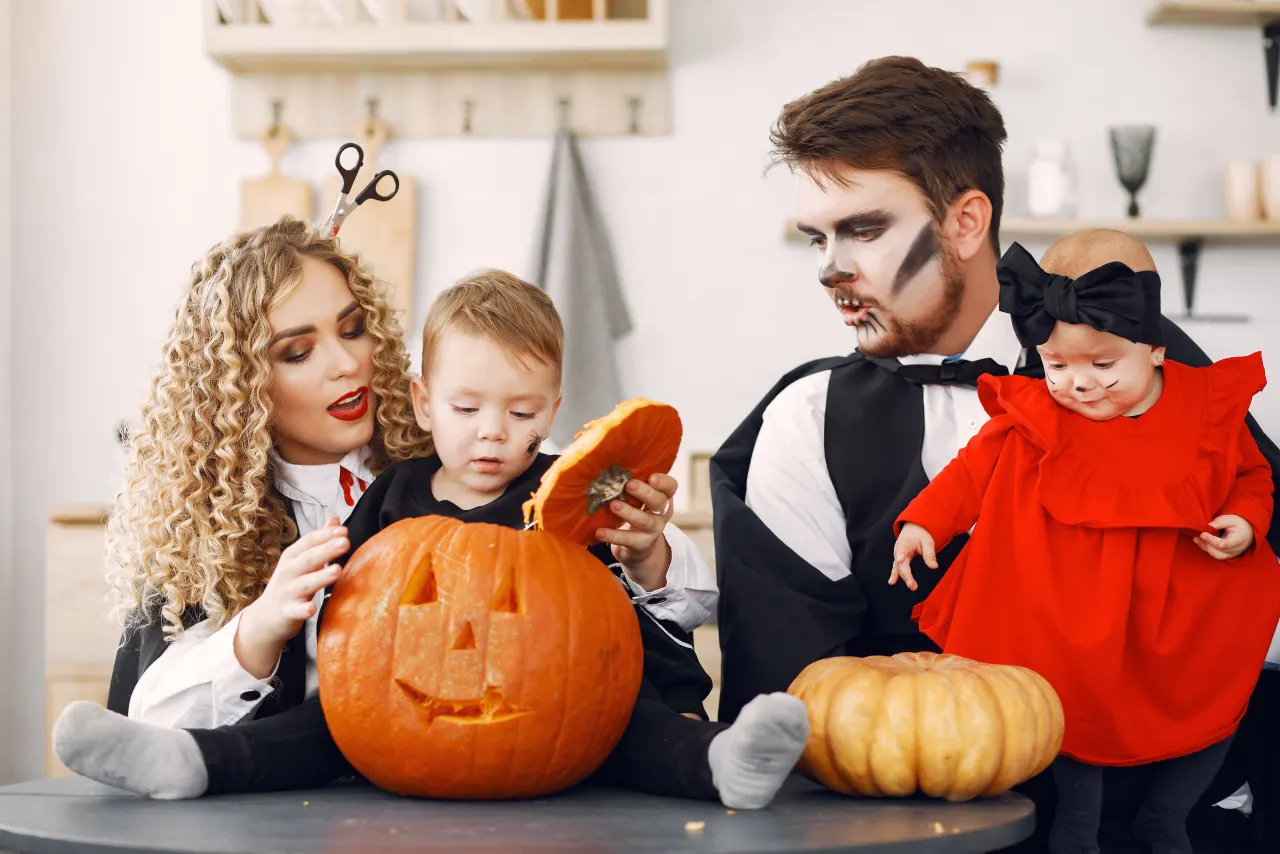
A capybara jack-o’-lantern has one major enemy: accidental beaver.
The second enemy is over-detailing. Capybaras look simple until you try to reduce one to pumpkin geometry. Then every line starts doing legal work. Make the ears too big, you have a bear. Add a tail, you have a beaver. Make the nose pointy, you have a dog who has seen things.
So the real goal is not a perfect wildlife portrait. It is a pumpkin people recognize before they ask whether you need help.
A capybara face needs big simple shapes — blunt muzzle, small ears, no tail to worry about — which is genuinely good news, because fine detail is where knives slip.
Adults cut, children draw and scoop. That division survives every Halloween.
The Capybara Face Has To Read In Three Shapes
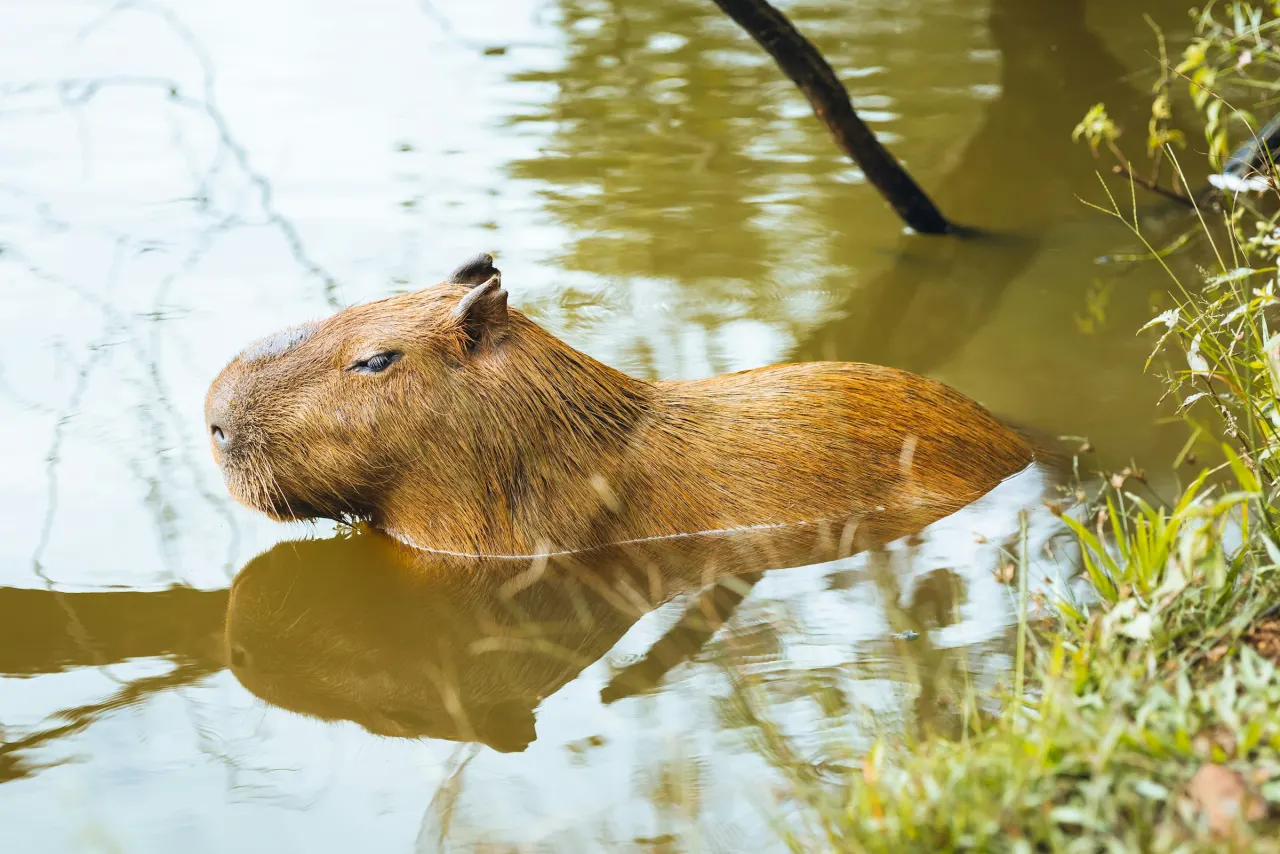
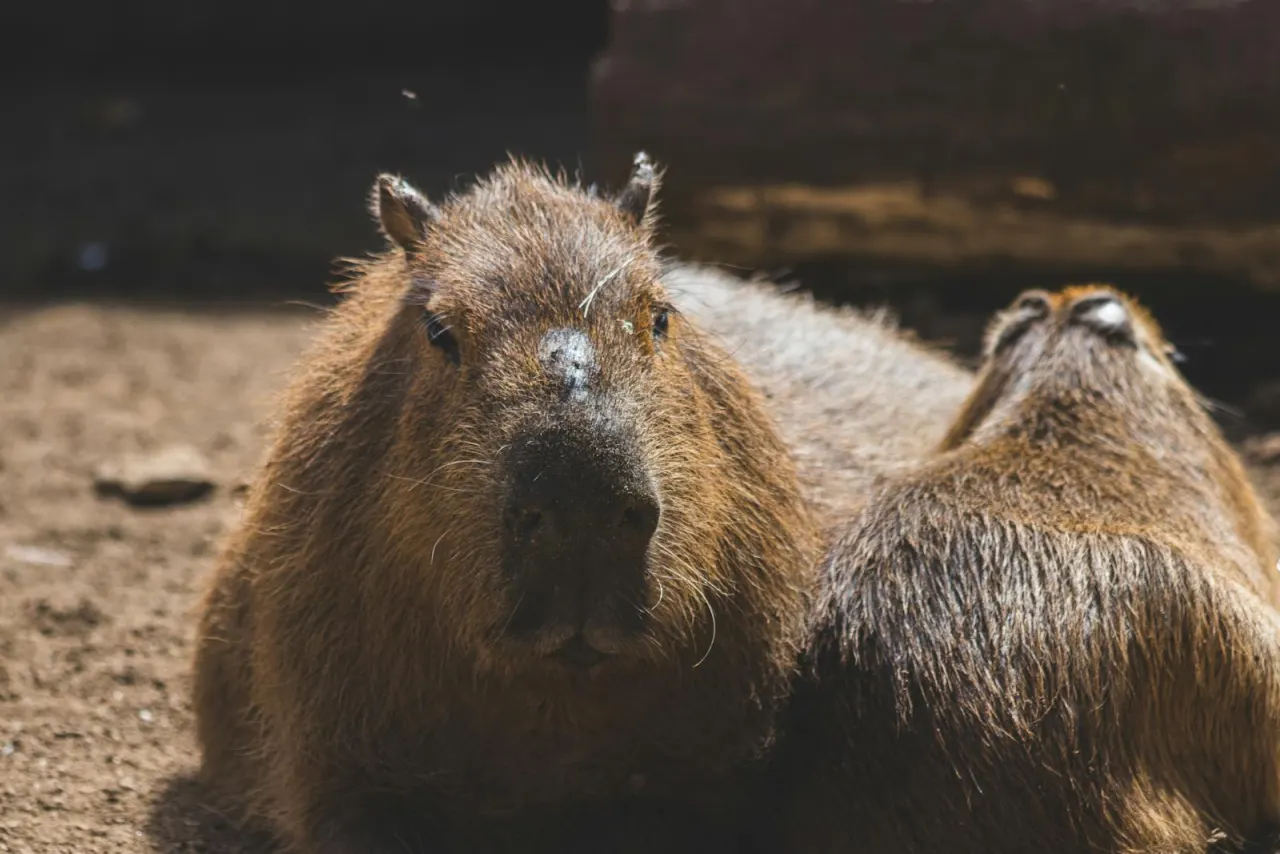
A readable capybara pumpkin needs three shapes: small rounded ears, a wide blunt muzzle, and calm eyes. That is it. The animal’s real face is not complicated, but its proportions matter.
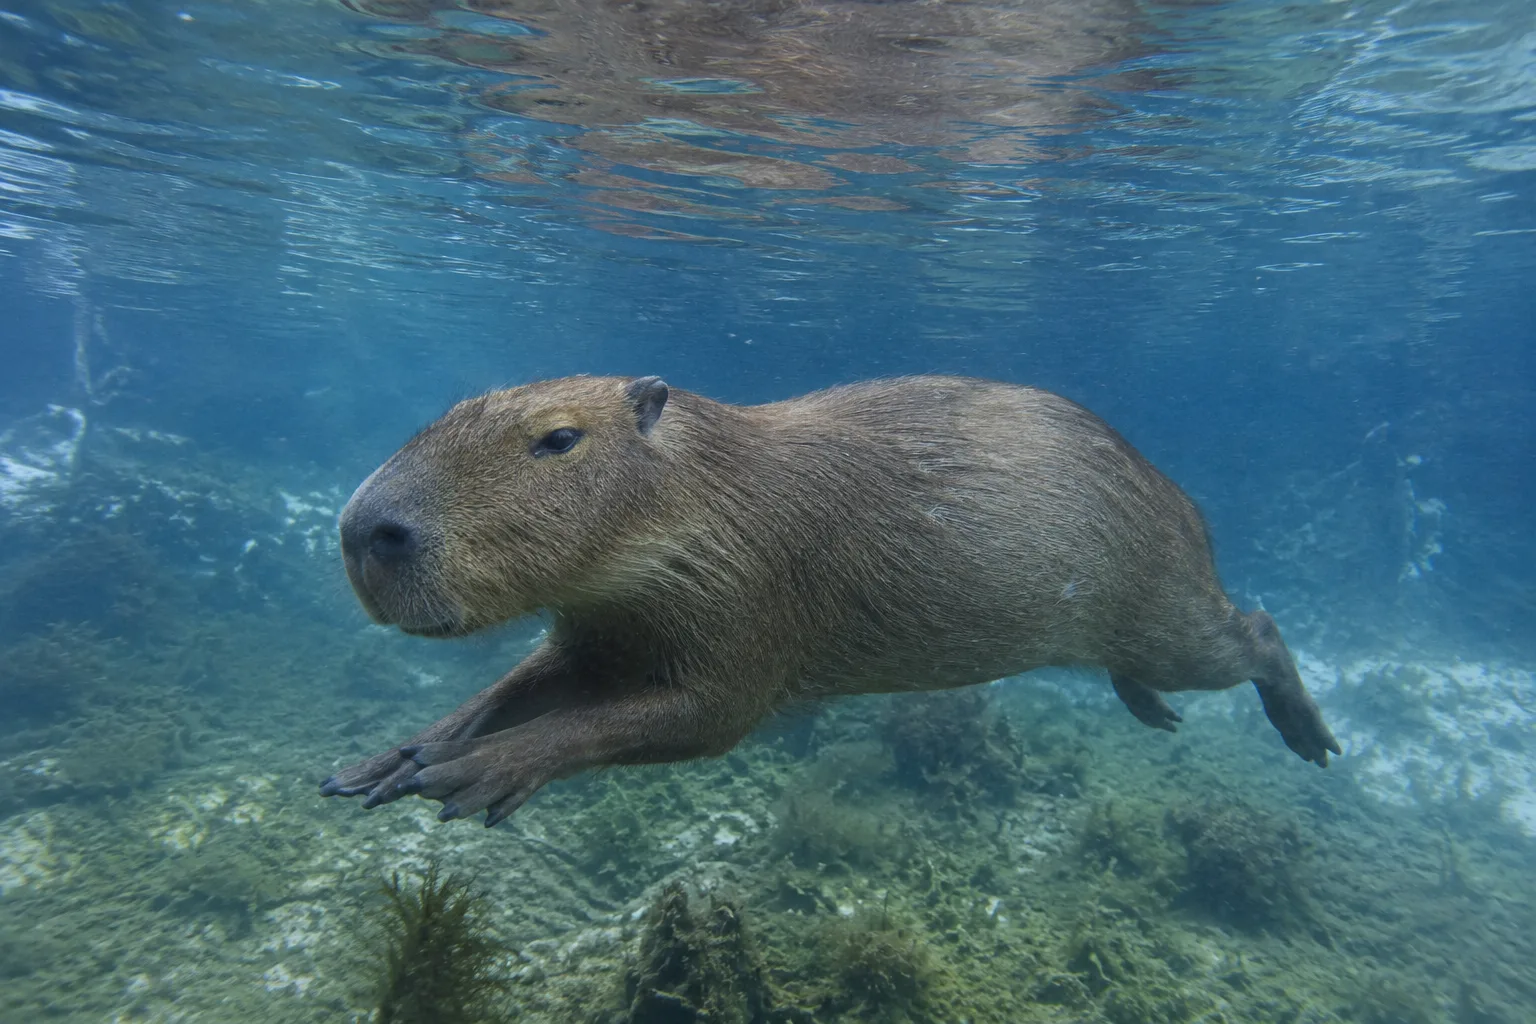
San Diego Zoo and Animal Diversity Web both describe capybaras as large, semi-aquatic rodents. The field-mark version for a pumpkin is simple: broad head, small ears, high-set features, no dramatic tail. A pumpkin is already round, so your job is to make it specifically capybara instead of “seasonal mammal, unspecified.”
| Feature | Use this | Avoid this |
|---|---|---|
| Ears | Small round ears near top corners | Big bear circles |
| Nose | Blunt oval or rounded rectangle | Pointy snout |
| Eyes | Small calm ovals | Huge cartoon eyes |
| Mouth | Short neutral line | Big toothy grin |
| Tail | None | Beaver paddle tail |
If people have to ask, “Is it a guinea pig?” you are still fine. If they ask, “Why does your pumpkin have a paddle?” there has been a structural failure.
Stencil Ideas By Skill Level
Beginner: paint the face. Use a brown or tan pumpkin if you can find one, or paint a normal orange pumpkin with a warm brown oval face patch. Add paper ears with toothpicks or glue dots. Draw the nose and eyes in black. This is the best version for kids and for adults who own knives but not confidence.
Medium: scrape the design. Instead of cutting holes all the way through, scrape lighter areas into the pumpkin surface. Use the orange pumpkin glow for the muzzle and cheeks. Cut only the eyes and small nose. It reads cleaner and is less likely to collapse.
Advanced: full silhouette. Carve a side-profile capybara sitting in water with a pumpkin moon behind it. Keep the legs simple. Do not carve individual fur lines unless you enjoy suffering and have excellent snacks nearby.
How Not To Carve A Beaver By Accident
The tail is the obvious problem, but the nose is the sneakier one. Beavers read with big incisors, flatter tails, and a different head profile. Capybaras read with blunt calm and heavy loaf energy. If you add giant front teeth, the pumpkin leaves capybara country.
Our capybara-vs-beaver comparison is useful if you want the animal ID version. For carving, keep the correction practical.
| Mistake | Fix |
|---|---|
| Big buck teeth | Use a short neutral mouth |
| Paddle tail | Remove the tail entirely |
| Pointy snout | Use a rounded rectangle nose |
| Long ears | Make small semicircle ears |
| Skinny body | Add a broad loaf silhouette |
My honest recommendation: do not carve the whole animal unless you are good at templates. A face plus hot-spring setting is easier and funnier. Also less likely to become a pumpkin rat.
Kid-Safe Pumpkin Rules That Still Let Kids Help
The CPSC and FDA both publish Halloween safety guidance because sharp tools, candles, costumes, and excited children are a classic committee of bad ideas. For capybara pumpkins, keep the child job to drawing, scooping, painting, sticker placing, and selecting the expression of mild judgment.
Adults handle knives. Use battery lights instead of open candles, especially if the pumpkin has paper ears, fabric reeds, or a table display nearby. Keep tools in one spot. Put the pumpkin on a stable surface. Do not carve while the pumpkin is in someone’s lap, a sentence that should not need to exist and yet here we are.
The Hot Spring Pumpkin Setup
The most shareable version is not just a face. It is a little scene.
Place the capybara pumpkin in a shallow tray or on blue paper as water. Add paper reeds, a towel strip, and a few orange circles as citrus. Put a sign next to it: “Please do not disturb. Seasonal soaking in progress.” Now the pumpkin has context, and context saves mediocre carving.
This also works for no-carve pumpkins. Paint the face, add ears, and set the whole thing in the hot-spring scene. No mess, less risk, still very readable.
Capybara Halloween decorations pairs naturally with this if you want the whole porch to commit to the bit.
The Short Plan
A good capybara jack-o’-lantern is simple: small ears, blunt nose, calm eyes, no tail. Beginners should paint. Medium-skill carvers should scrape. Advanced carvers can attempt a full silhouette, but only if they accept responsibility for the beaver risk and have accepted that pumpkins are not precision instruments.
Keep kids away from sharp tools, use battery lights, and build a little hot-spring scene if the face alone is not reading. The perfect capybara pumpkin should look like it knows Halloween is happening and has decided to soak through it.